5. TB
更新: 2026/8/21 字数: 0 字 时长: 0 分钟
5.1 List Page
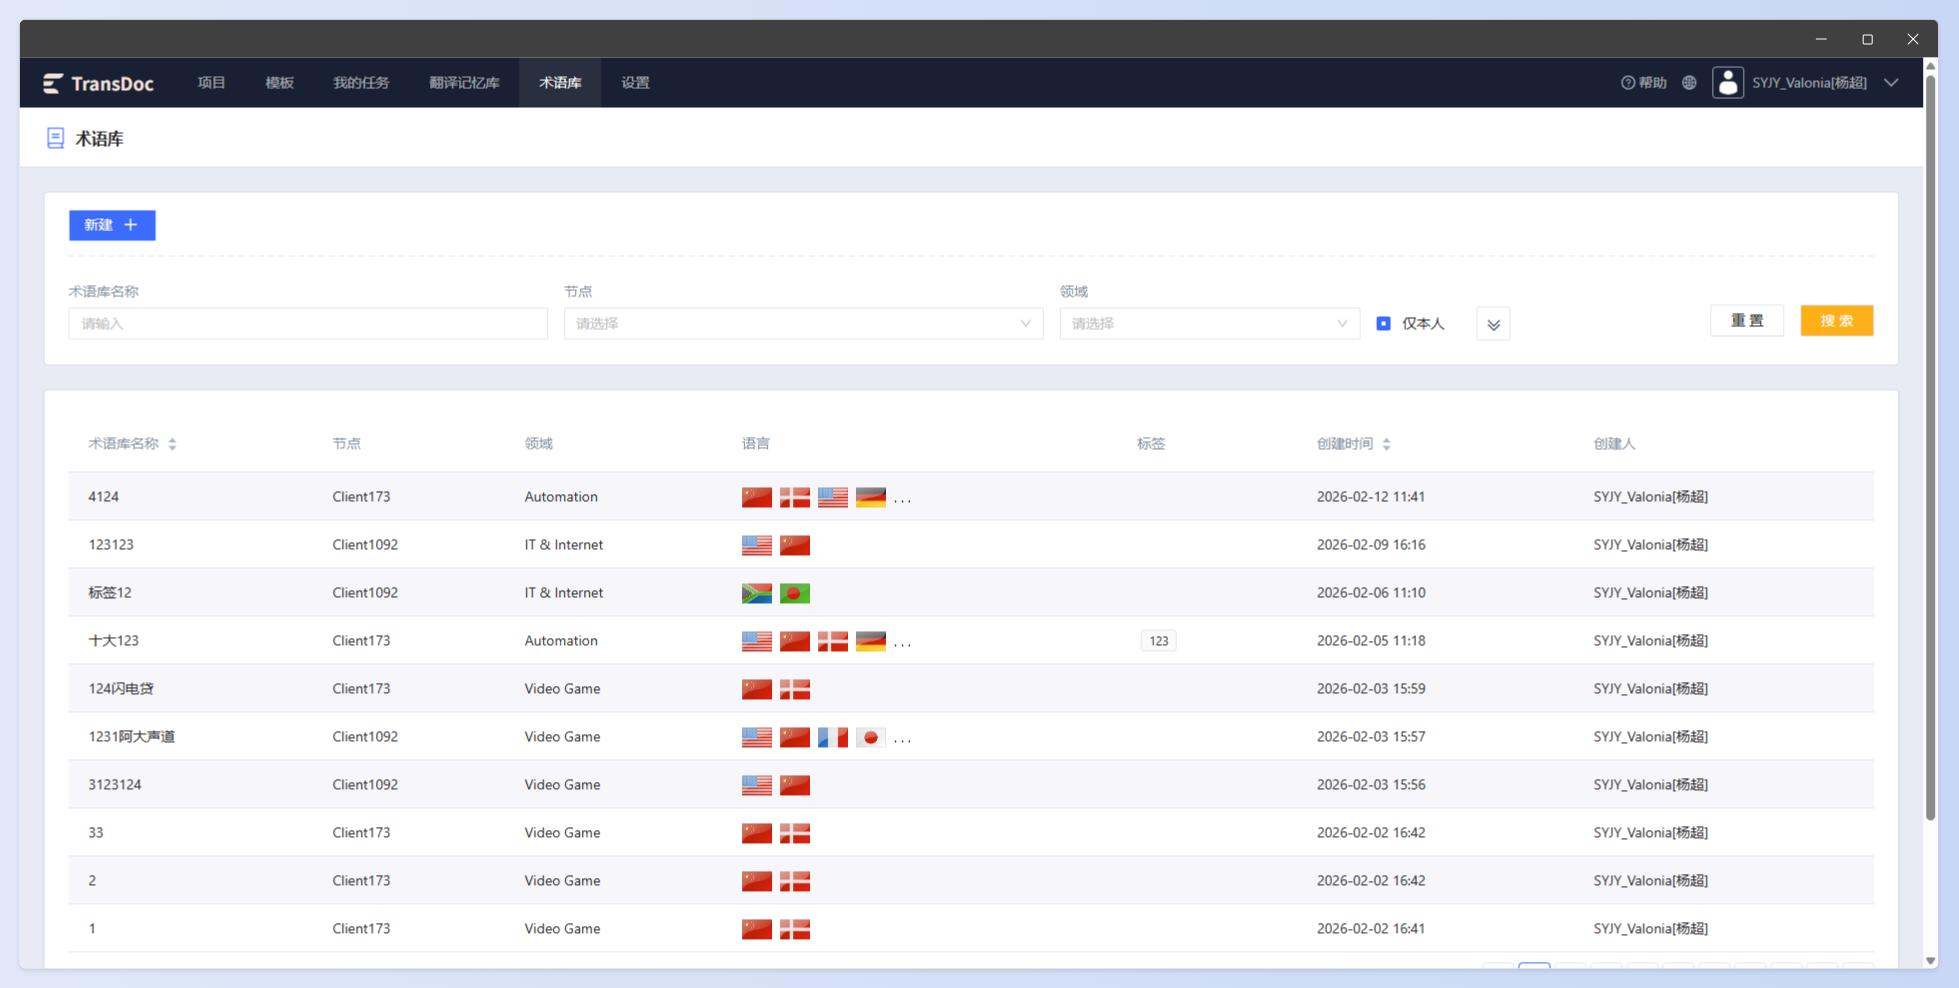
The list page is divided into an action bar and a data area.
Action bar: Supports creating and searching termbases.
Data area: Displays information such as termbase name, node, domain, language, tags, creation time, creator, etc. Creation time and name can be sorted.
5.2 Create Termbase
Click the Create button in the action bar on the list page to pop up the add termbase form page.
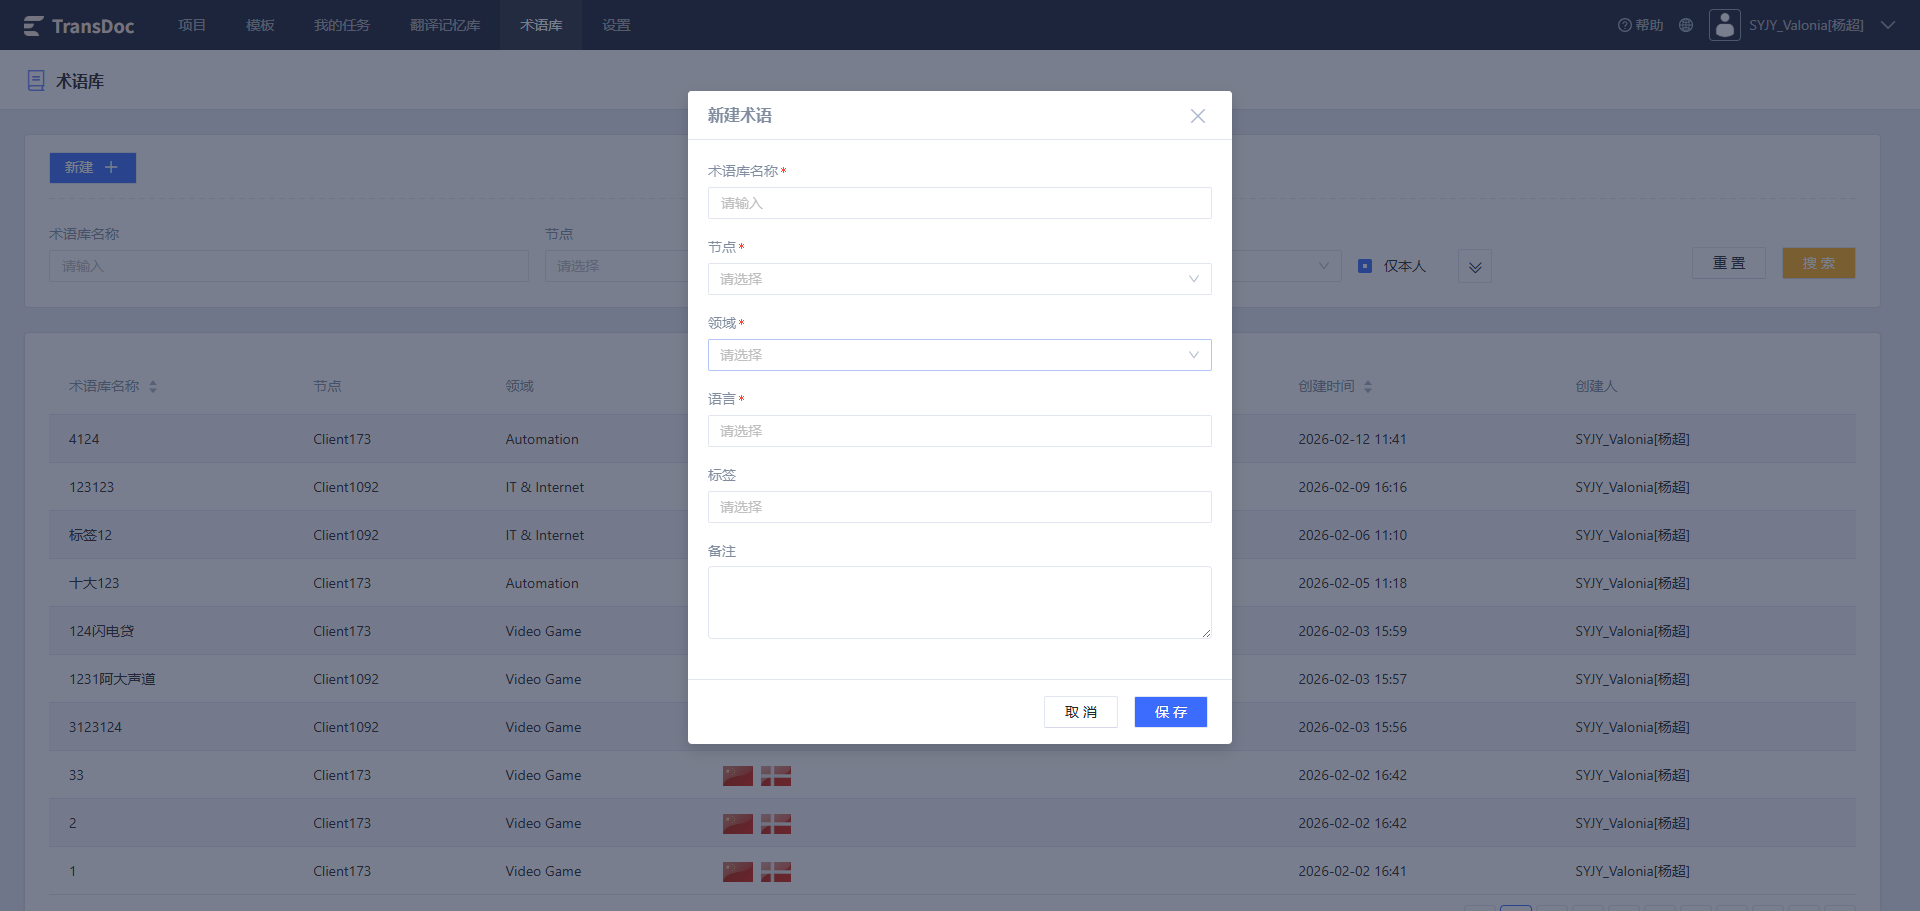
Fill in the relevant information: Fields marked with a red "*" are required. Click the Save button to create a new termbase. The system will prompt "Created successfully." and redirect to the termbase details page.
Multiple languages can be selected.
5.3 Termbase Details Page
5.3.1 Delete Termbase
Hover the mouse over the icon in the upper right corner of the termbase details page, and the buttons for deleting operations will appear.
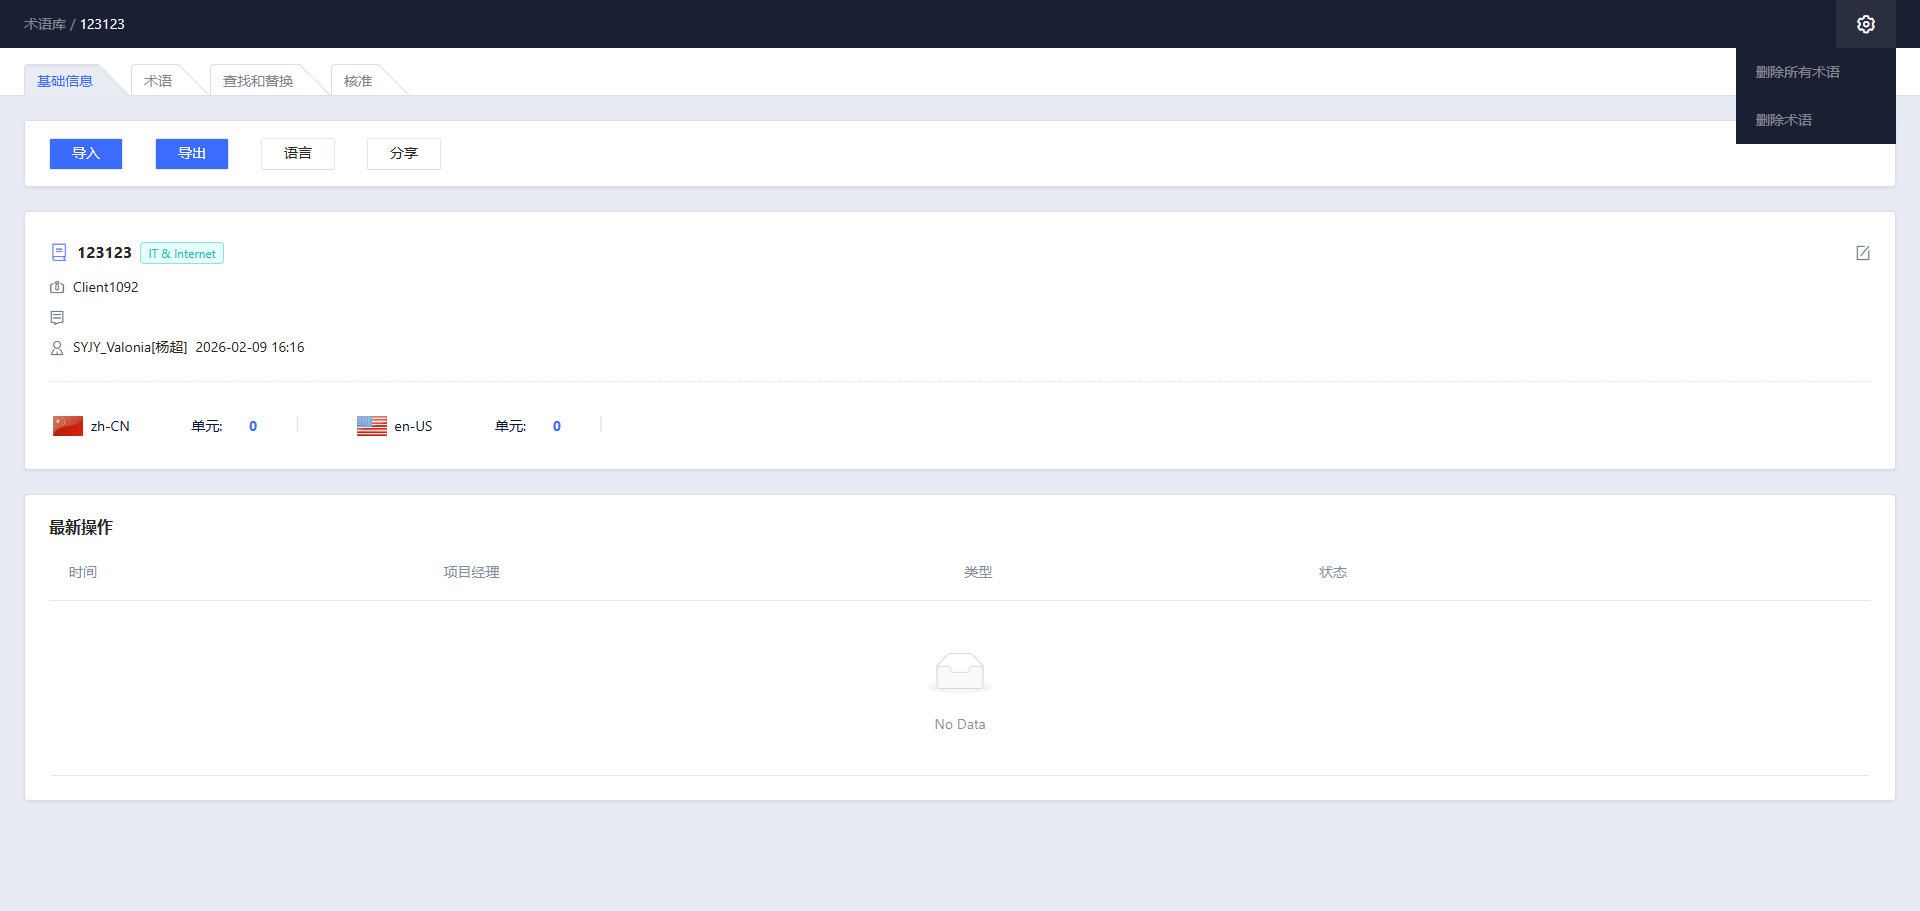
5.3.1.1 Delete All Terms
Deleting all terms will clear all entries in the termbase.
5.3.1.2 Delete Termbase
Deleting termbase will delete the termbase.
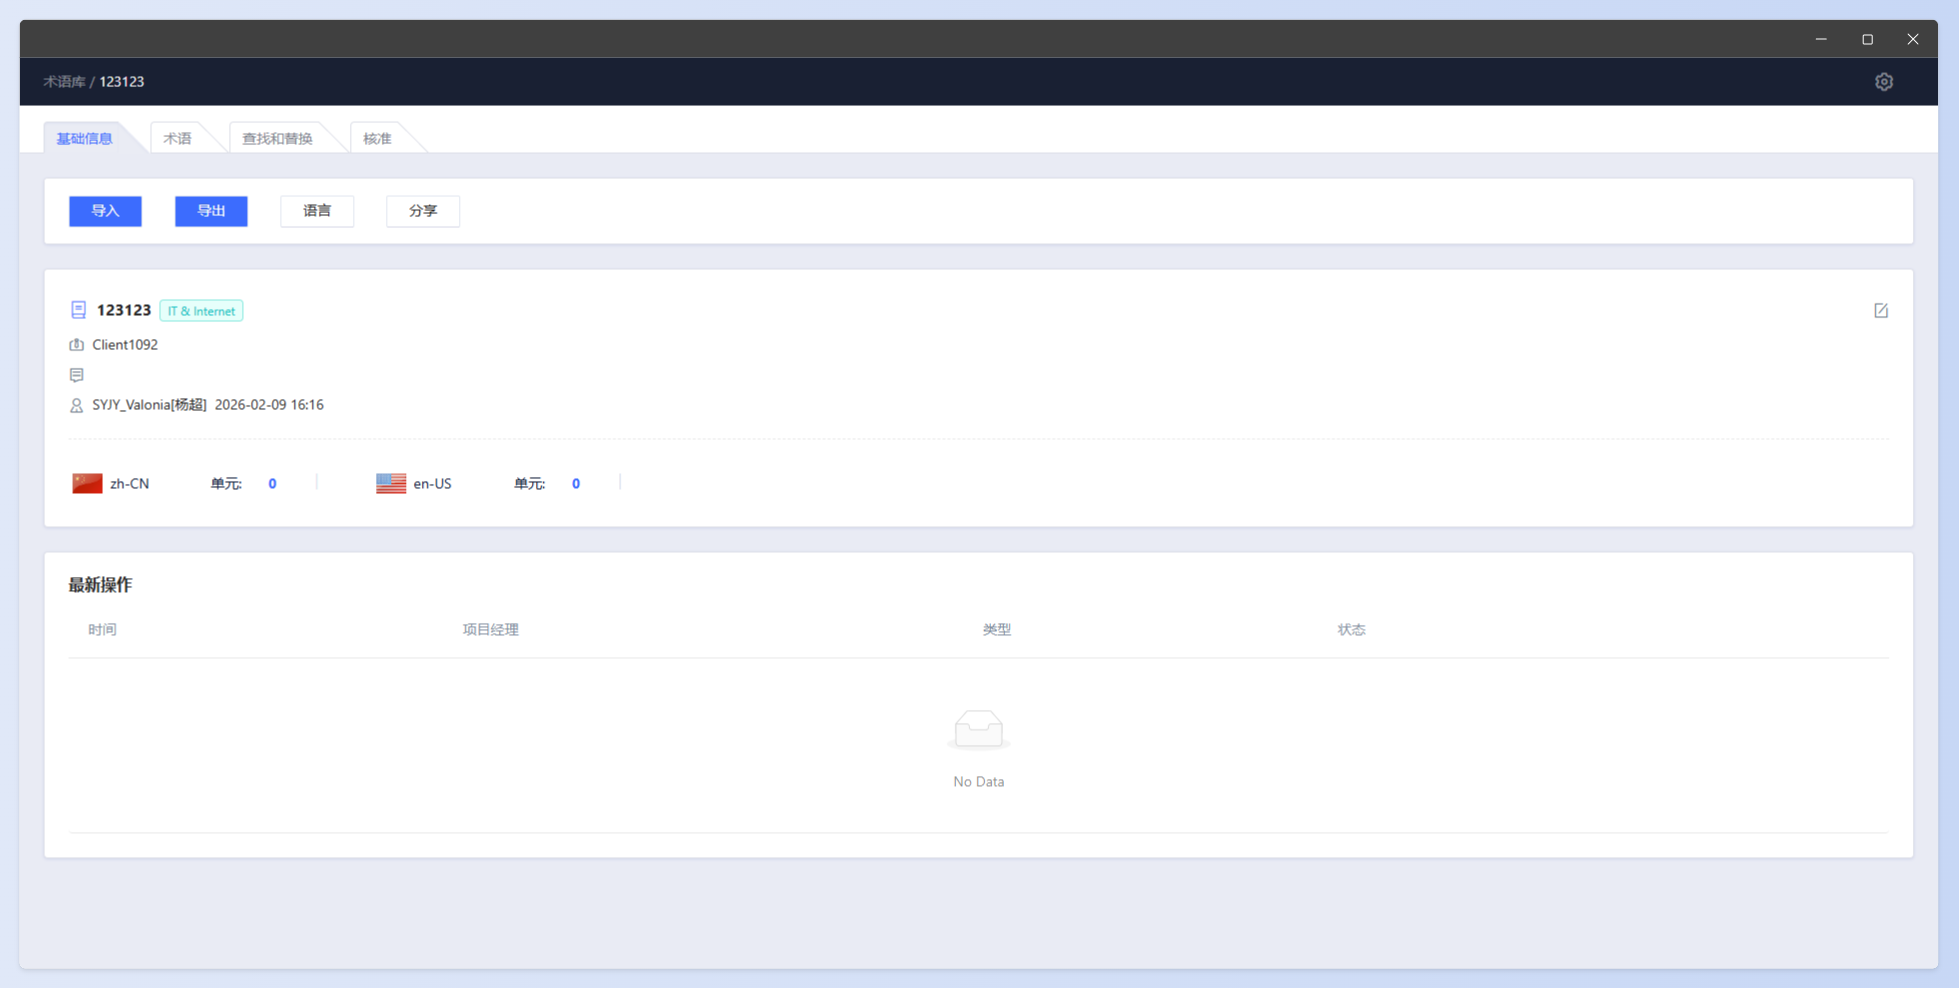
5.3.2 Basic Information
Clicking the Import, Export and Language buttons and the Share button to perform different operations on the termbase.
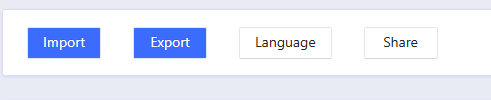
Import: Click the Import button, and a file selection window will pop up.
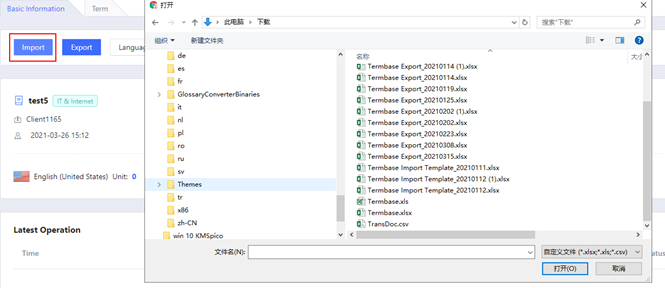
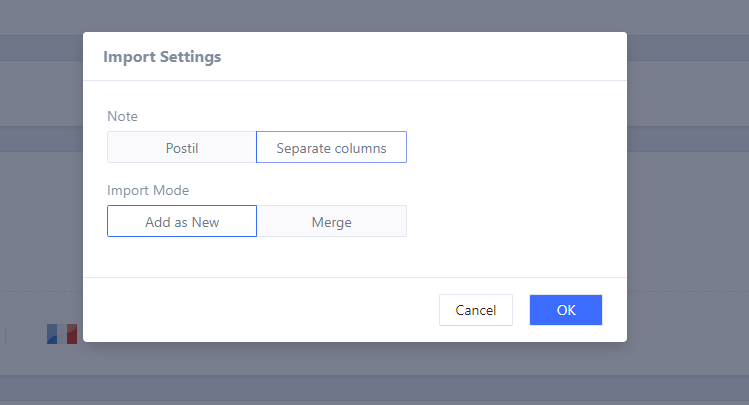
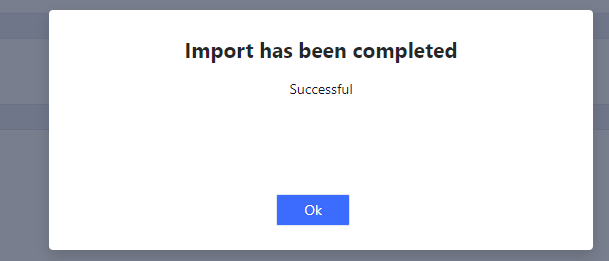
After selecting the file, the Import Settings window will appear. Select the corresponding options and click Okto perform the Import operation. After the operation is successfully completed, a prompt will appear.
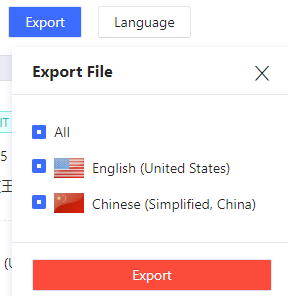
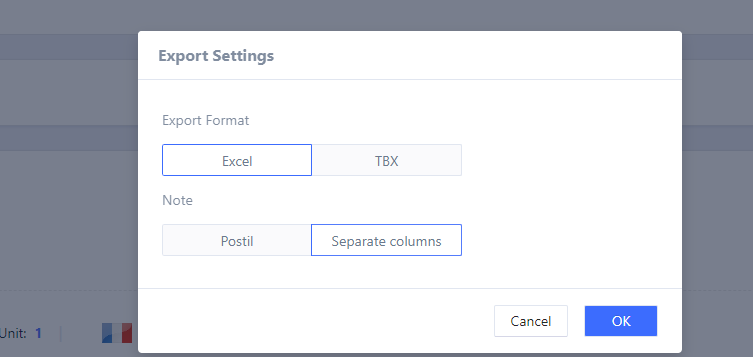
Export: Click the Export button and an Export File window will pop up. Select the export language and click the Export button., and the Export Settings window will appear. Select the corresponding options and click Okto perform the Export operation. After the operation is successfully completed, a prompt will appear.
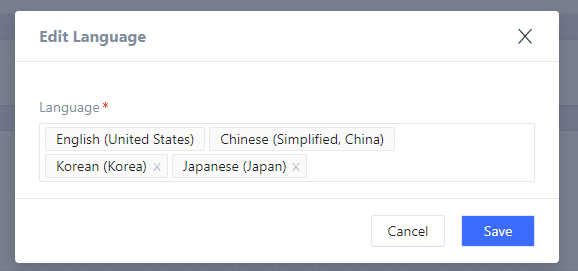
Language: Click the Language button, and the Edit Language window will pop up. Select the languages to add or the languages to delete (languages that already have entries cannot be deleted) and click the Save button.
Share: Share the termbase. Those who have been shared with can view the terms. You can also remove them.
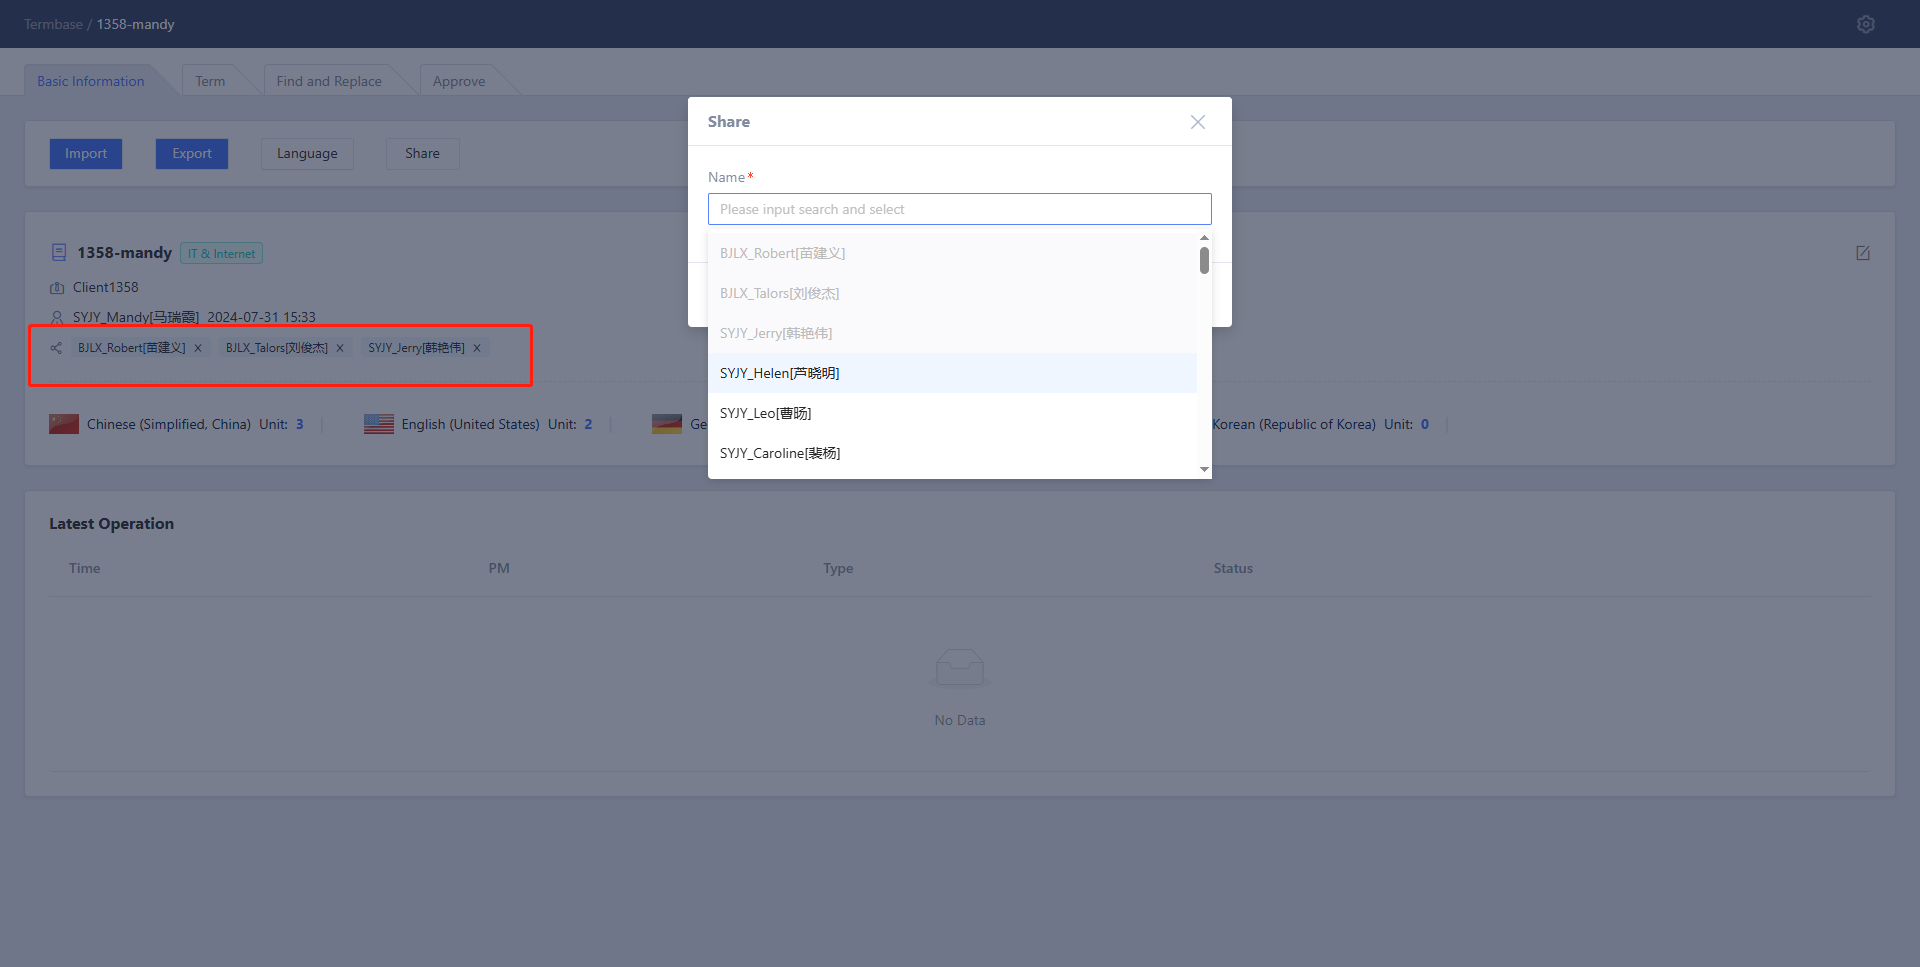
Basic Information Display Area: Displays the termbase name, client, creator, creation time, industry, languages, and the number of entries for each language;

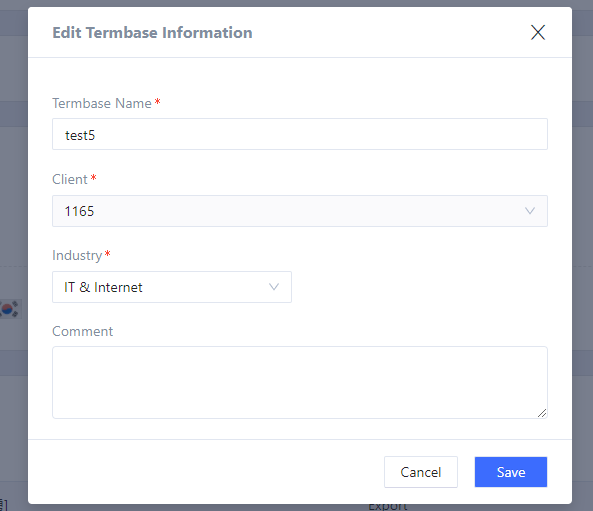
Edit Basic Information: Click the edit icon on the right side of the basic information display area to pop up the Edit Termbase Information window. Only Termbase Name, Industry, and Comment fields can be modified. Fields marked with a red "*" are required. After editing, click Save to update the basic information, or click Cancel to cancel editing.
Operation Log: The operation log list displays recent Import and Export operation data, showing Time, PM, Type, Status, and action buttons. For Exported operations, you can click the icon on the right sideto download the files.

5.3.3 Term
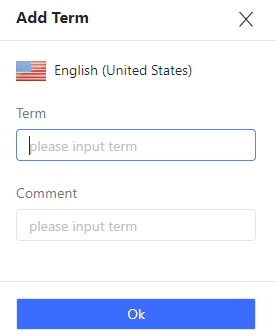
Add new: Click the Add New button to open the add term window. Enter Term and Comment, then click the Ok button to add a new term.
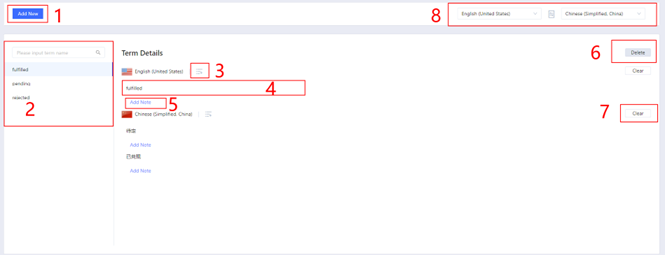
Switch between terms: Click a term on the left to display its details on the right. Enter the term name in the search box to perform a fuzzy search for terms.
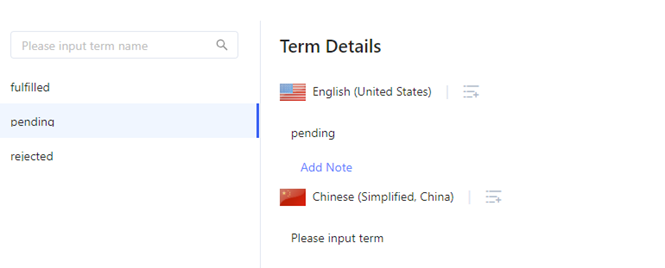
**Add different translations for a term:**Click the small icon after the language name, and an input box will pop up below. Enter text, and click the Save button to save it, or click the Cancel button to cancel the addition.
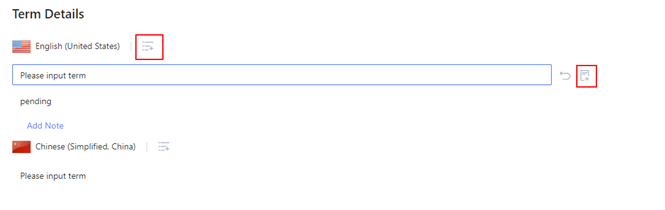
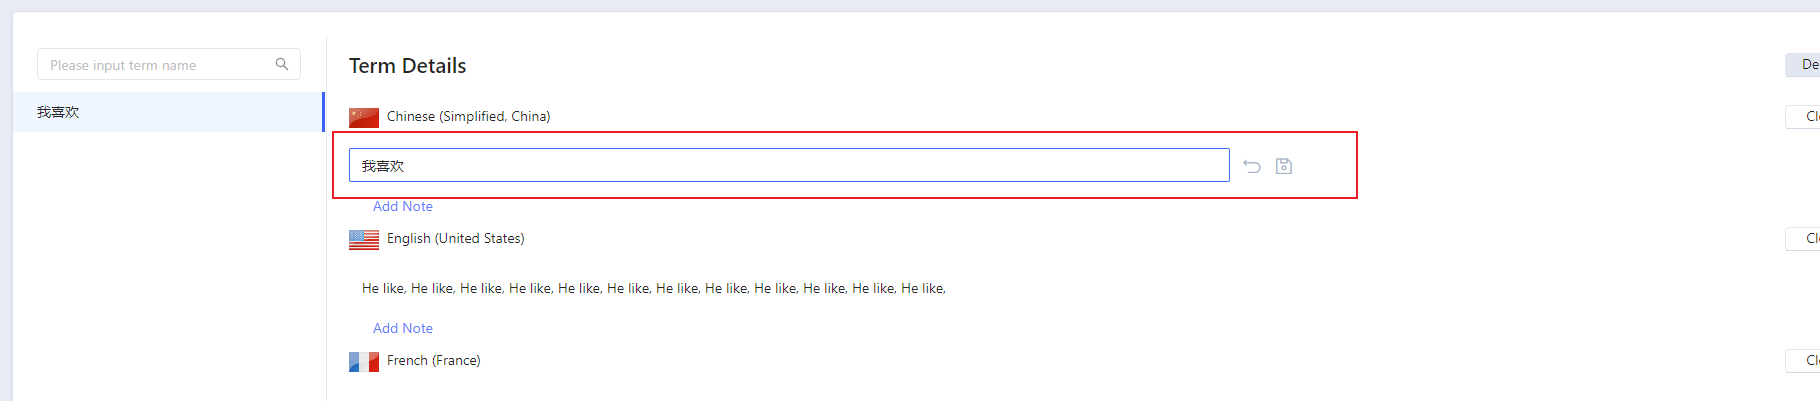
Edit term entry: Click the current term entry to change the its state to editable, and the Save and Undo buttons will appear. Click the Save button to save the newly modified entry.
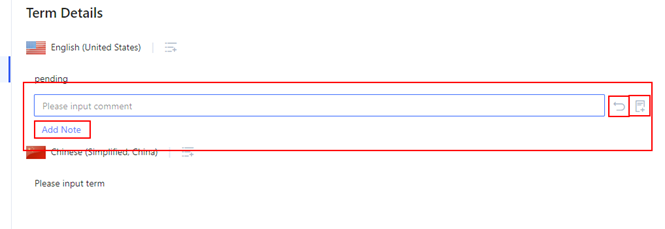
Add Note: Click the Add Note button, and a new editing area will appear above the button, within which you can save the note and undo note editing;
Delete: The Delete operation removes the entry from that language. Click the Delete button, the system will pop up a confirmation dialog box. Click Empty to delete the entry, or click Cancel to cancel the deletion.
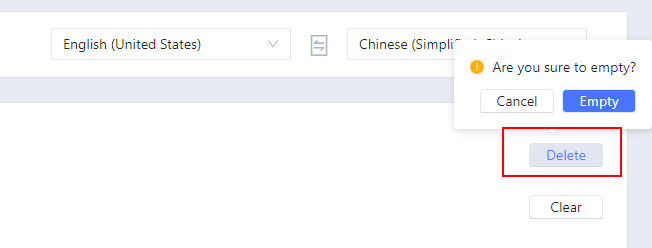
Clear: The Clear operation deletes the entry under that language. Click the Clear button, the system will pop up a confirmation dialog box. Click Empty to delete the entry, or click Cancel to cancel the deletion.

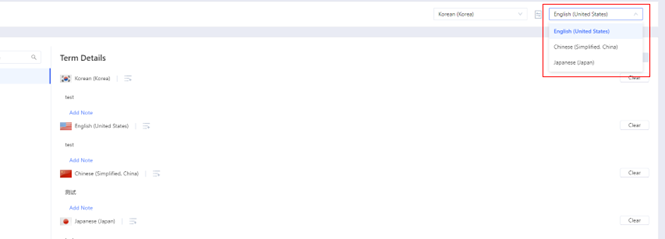
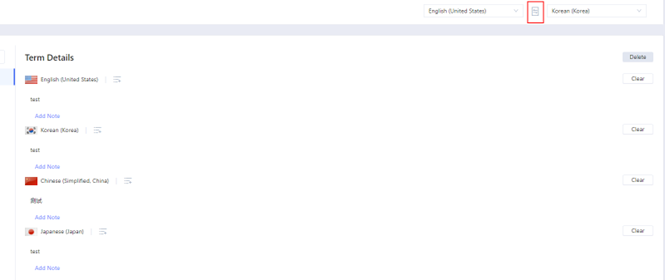
Switch language orders: Switching language orders means displaying the term base by language, with the first dropdown as the first order and the second dropdown as the second order;
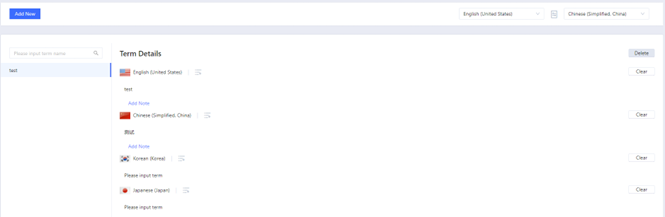
Switch first language order: Select any language in the first language dropdown, and the system will display all terms under the selected language, showing that language as the first order.
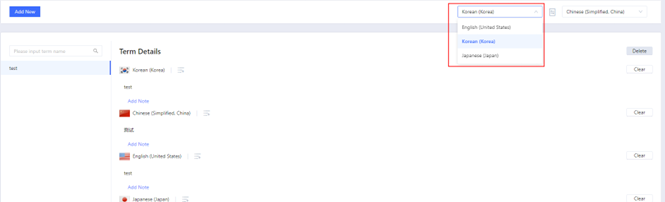
Switch second language order: Select any language in the second language dropdown, and the system will display it as the second order.
Quickly swap language order: Quickly swapping language order means swapping the currently selected first language to the second position and the second language to the first position in the display of term bases.
5.3.4 Find and Replace
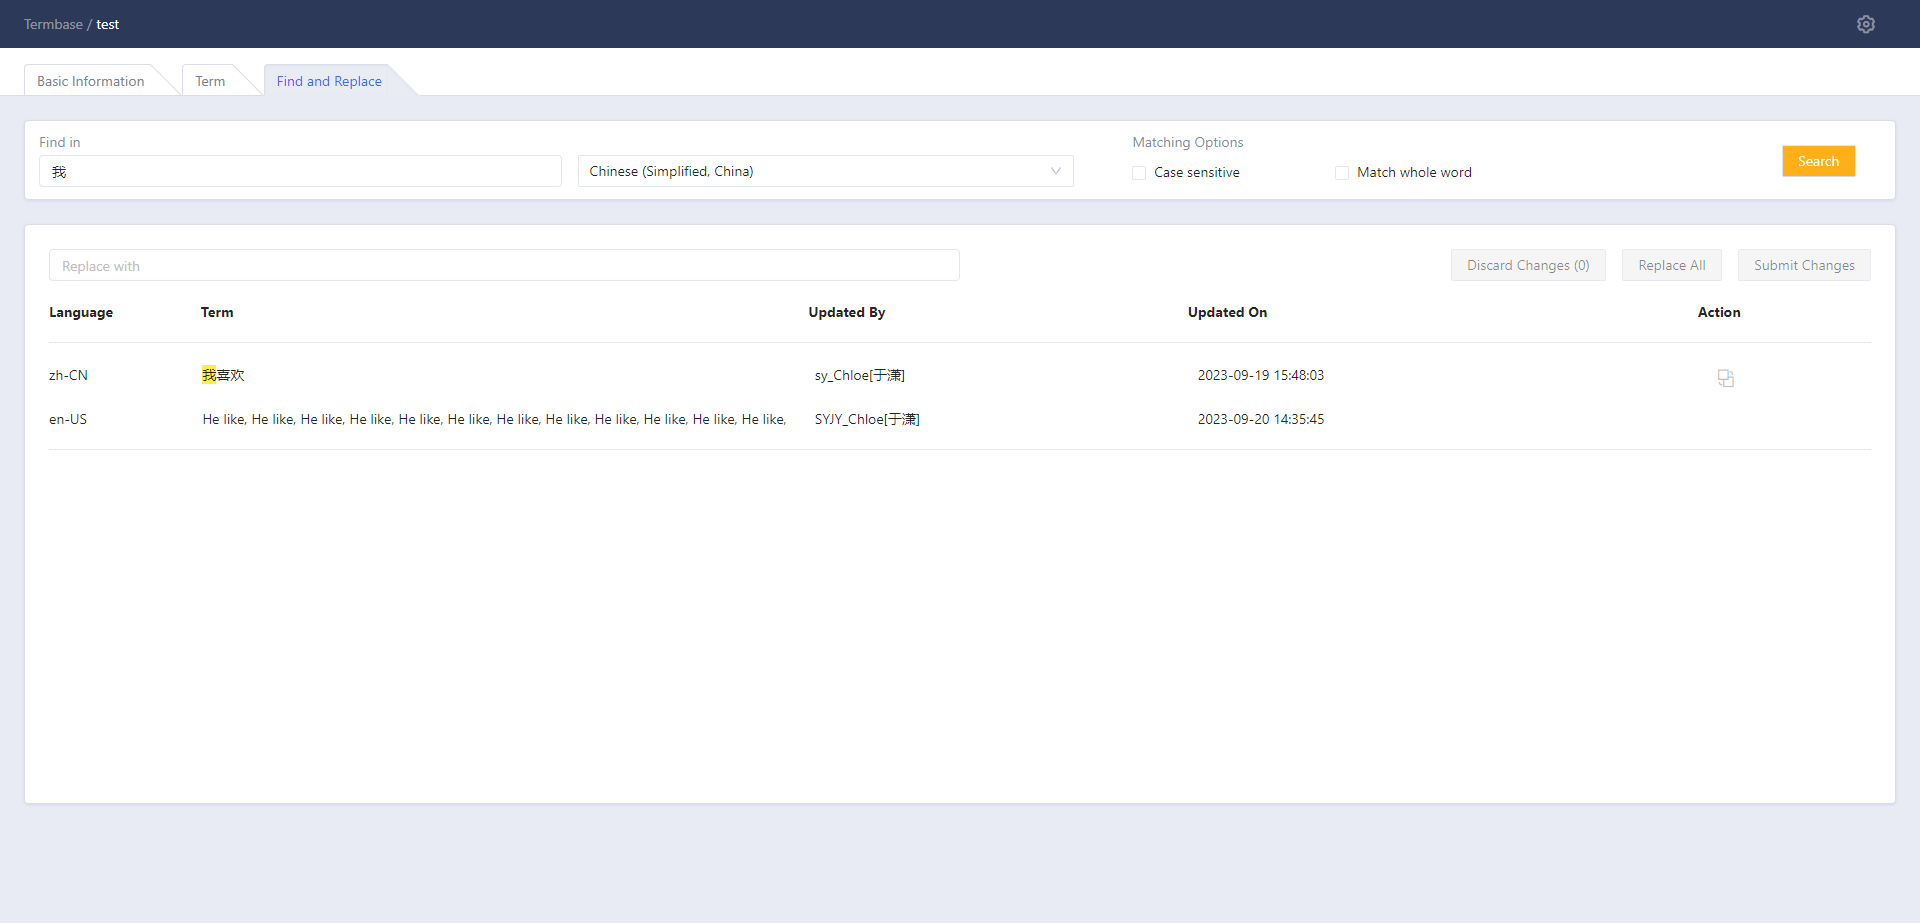
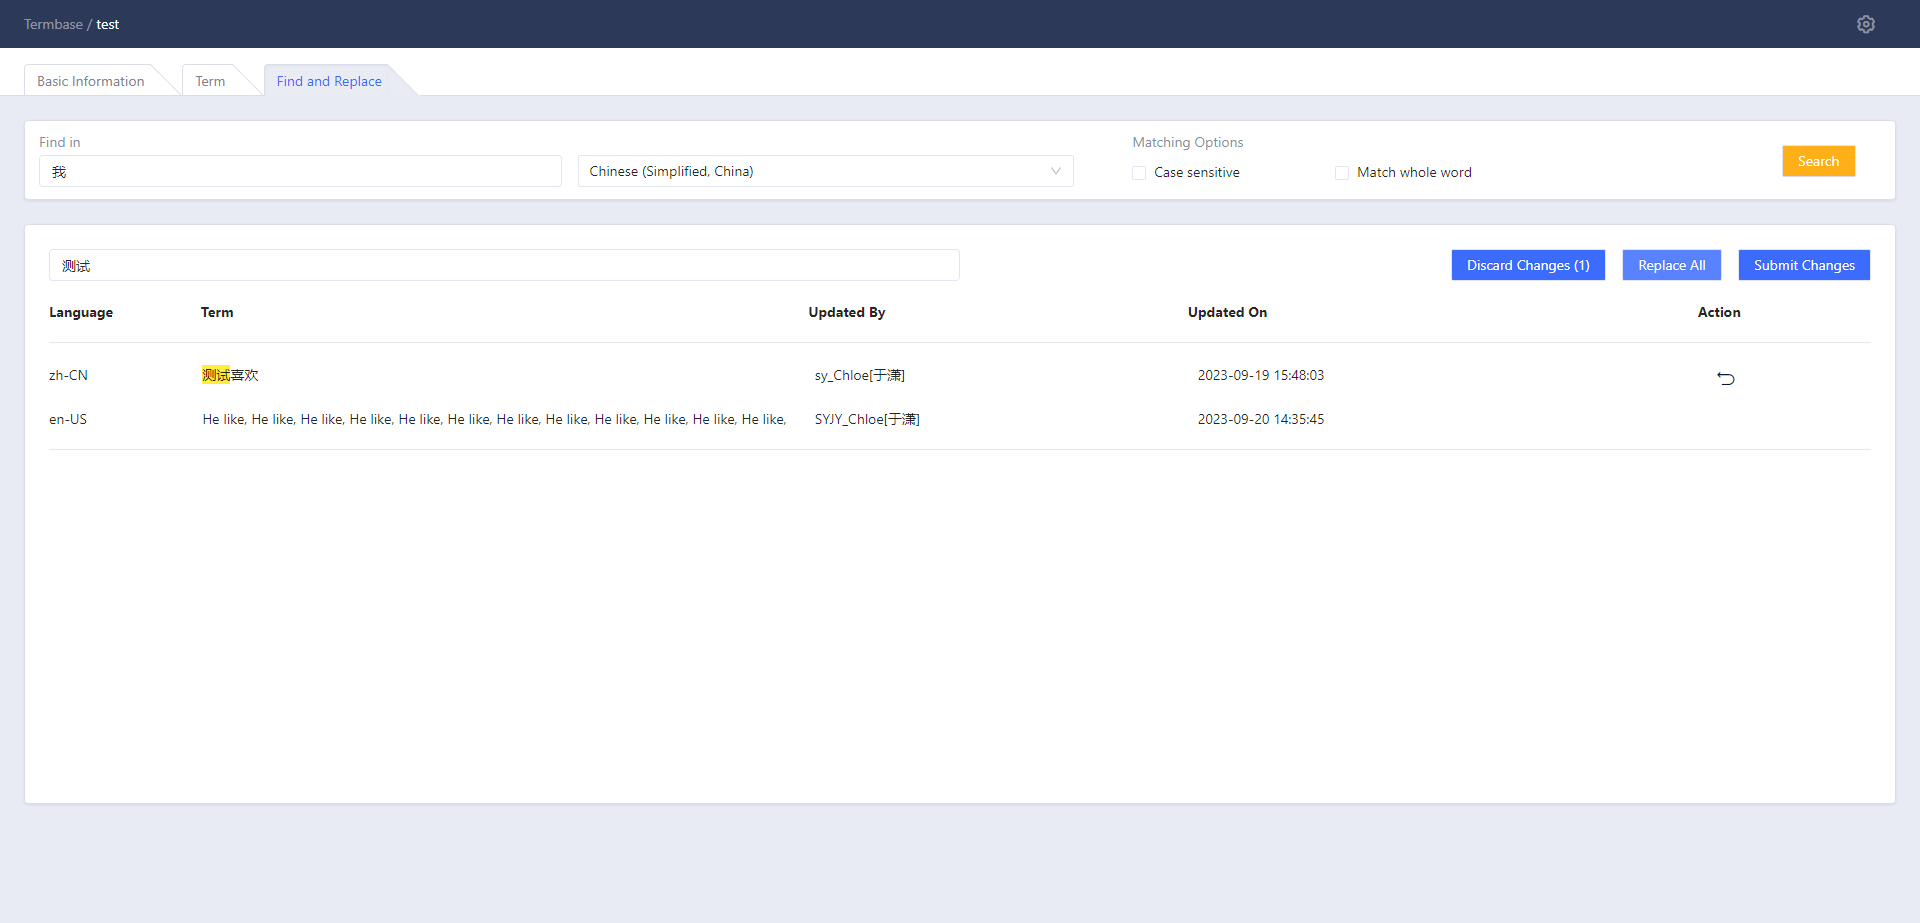
Find and Replace can search related term entries and perform batch replacements. Enter the query keyword and language to search, then enter the replacement word in Replace with and click Replace All to replace all. After confirmation, click Submit Changes to apply the replacements.
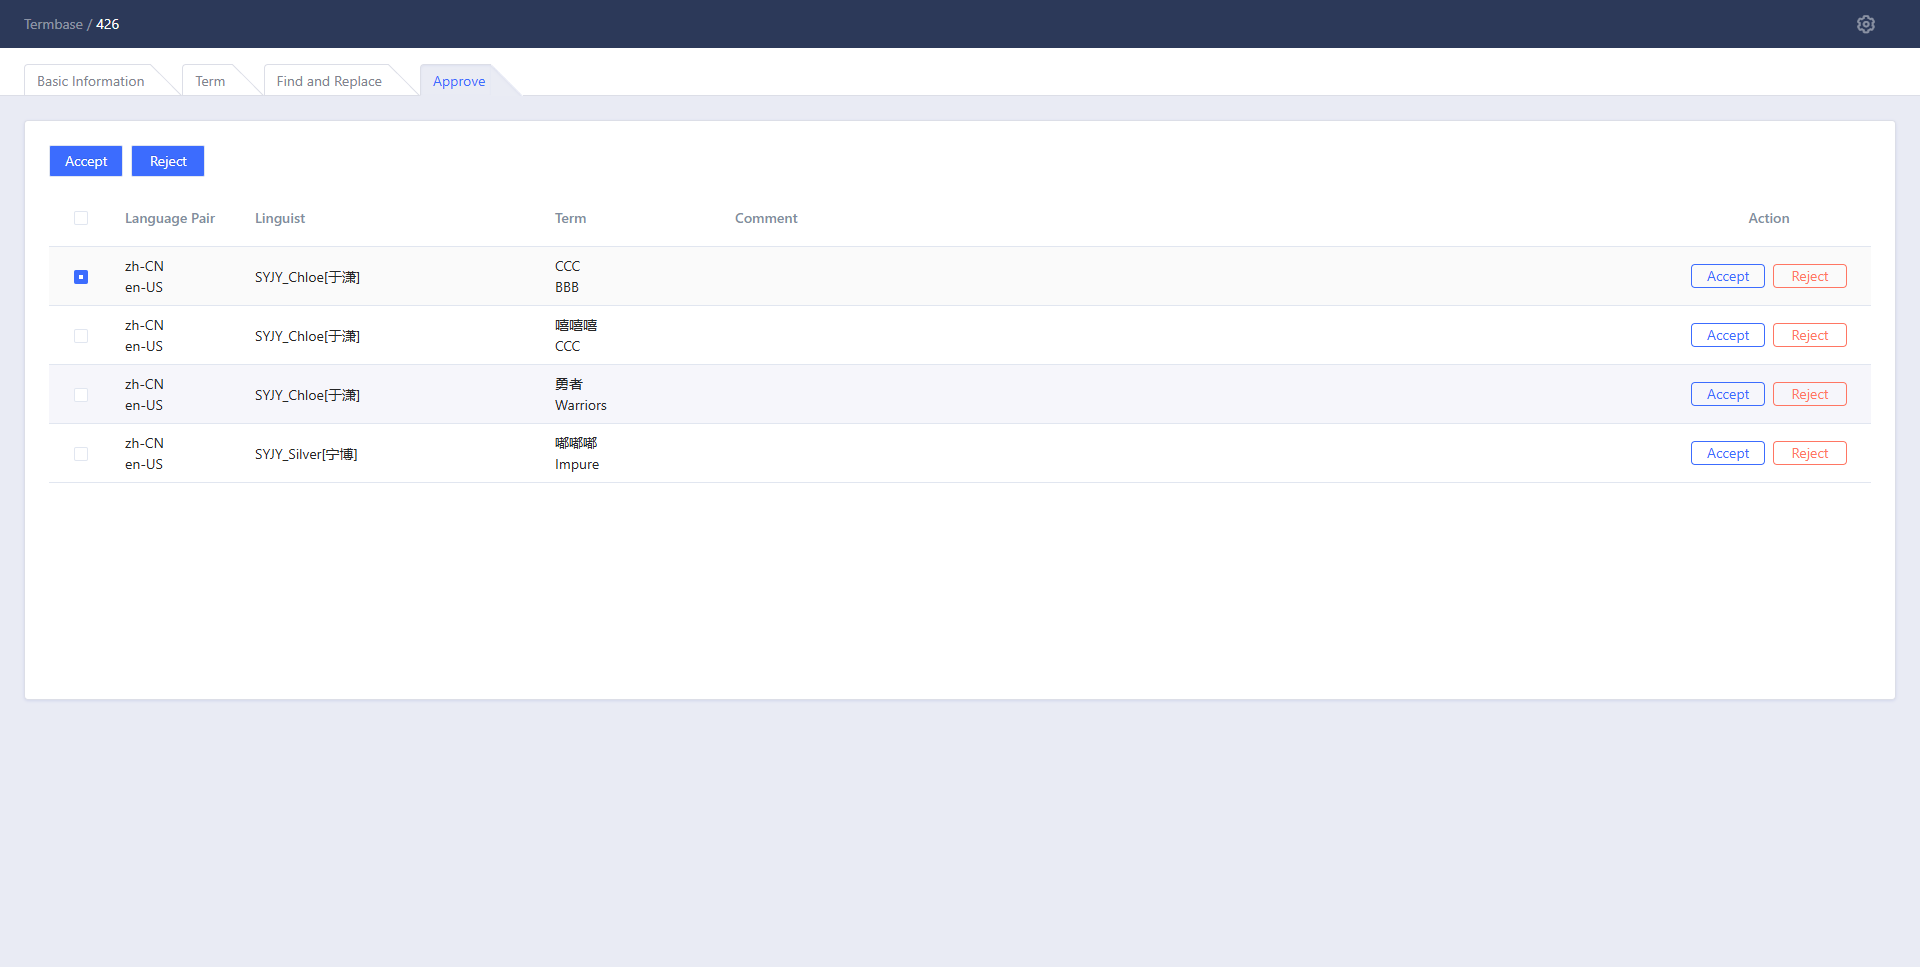
5.3.5 Approve
Reject or approve terms that linguists have edited or added online.